java线程运行机制初探

创建线程demo

1
2
3
4
5
6
7
8
9
10
11
public static void main(String[] args) throws InterruptedException {

Thread thread = new Thread(() -> {

System.out.println("搵食艰难");

});

thread.start();

}

启动线程:start方法

1
2
3
4
5
6
7
8
9
10
11
12
13
14
15
16
public synchronized void start() {
...
try {
start0();
started = true;
} finally {
try {
if (!started) {
group.threadStartFailed(this);
}
} catch (Throwable ignore) {
/* do nothing. If start0 threw a Throwable then
it will be passed up the call stack */

}
}
}

随后调用start0()方法,这是一个jvm本地方法,最终是通过操作系统来创建线程,关键代码在 os_bsd.cpp文件(笔者用的mac调试jvm源码,Windows是os_windows.cpp)

avatar

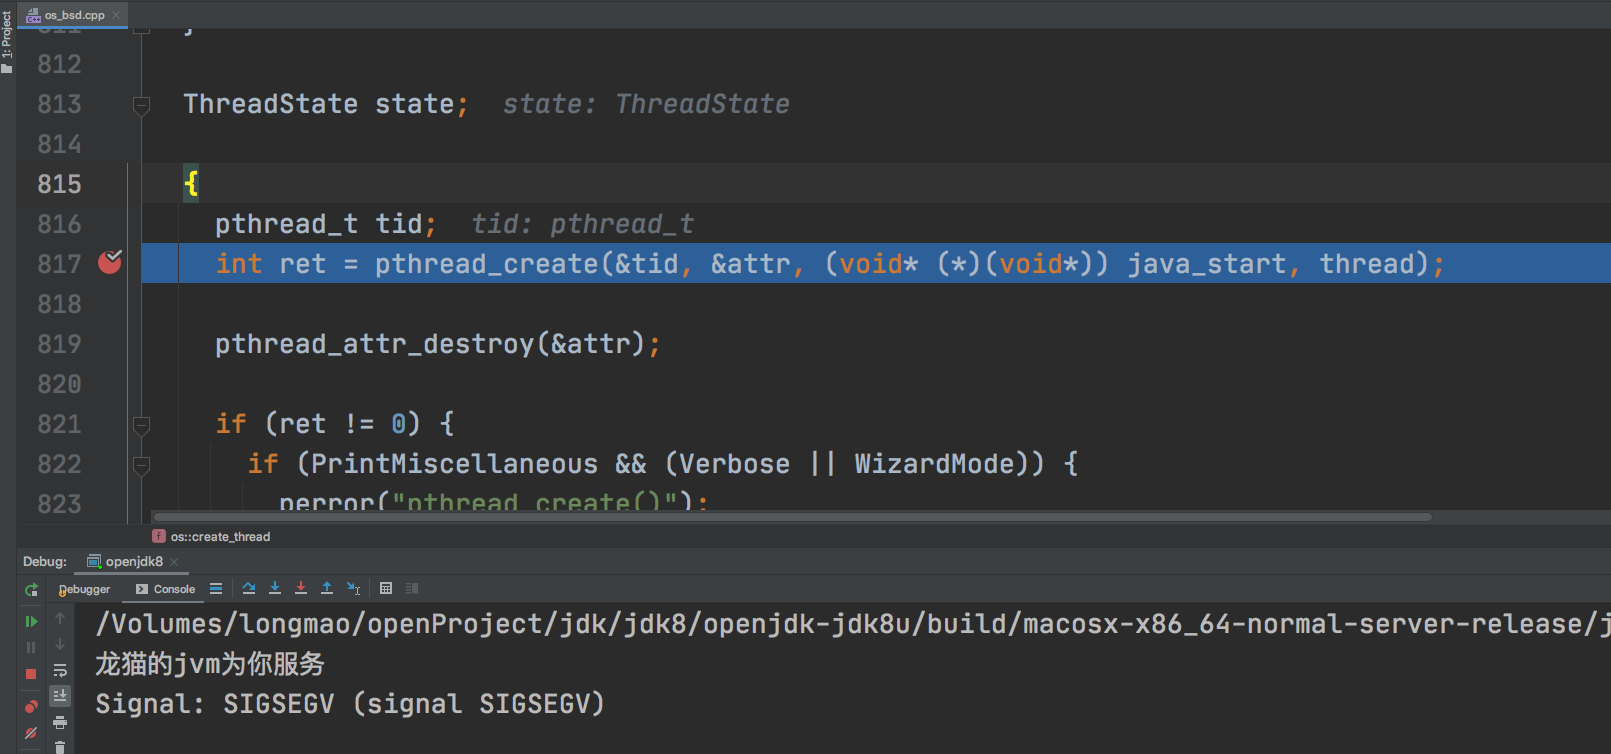
ThreadState state; 就是定义了线程的状态(面试偶尔会问线程流转状态o(╯□╰)o,要记记),是通过c的枚举标识的:

1
2
3
4
5
6
7
8
9
10
11
enum ThreadState {
ALLOCATED, // Memory has been allocated but not initialized
INITIALIZED, // The thread has been initialized but yet started
RUNNABLE, // Has been started and is runnable, but not necessarily running
MONITOR_WAIT, // Waiting on a contended monitor lock
CONDVAR_WAIT, // Waiting on a condition variable
OBJECT_WAIT, // Waiting on an Object.wait() call
BREAKPOINTED, // Suspended at breakpoint
SLEEPING, // Thread.sleep()
ZOMBIE // All done, but not reclaimed yet
};

有没有觉得有点眼熟~ 最关键的步骤是通过操作系统函数创建系统线程:

1
int ret = pthread_create(&tid, &attr, (void* (*)(void*)) java_start, thread);

pthread_create参数含义:

  • 第一个参数:新创建的线程ID指向的内存单元
  • 第二个参数:线程属性
  • 第三个参数:新创建的线程从start_rtn函数的地址开始运行
  • 第四个参数: 若上述函数需要参数,将参数放入结构中并将地址作为arg传入